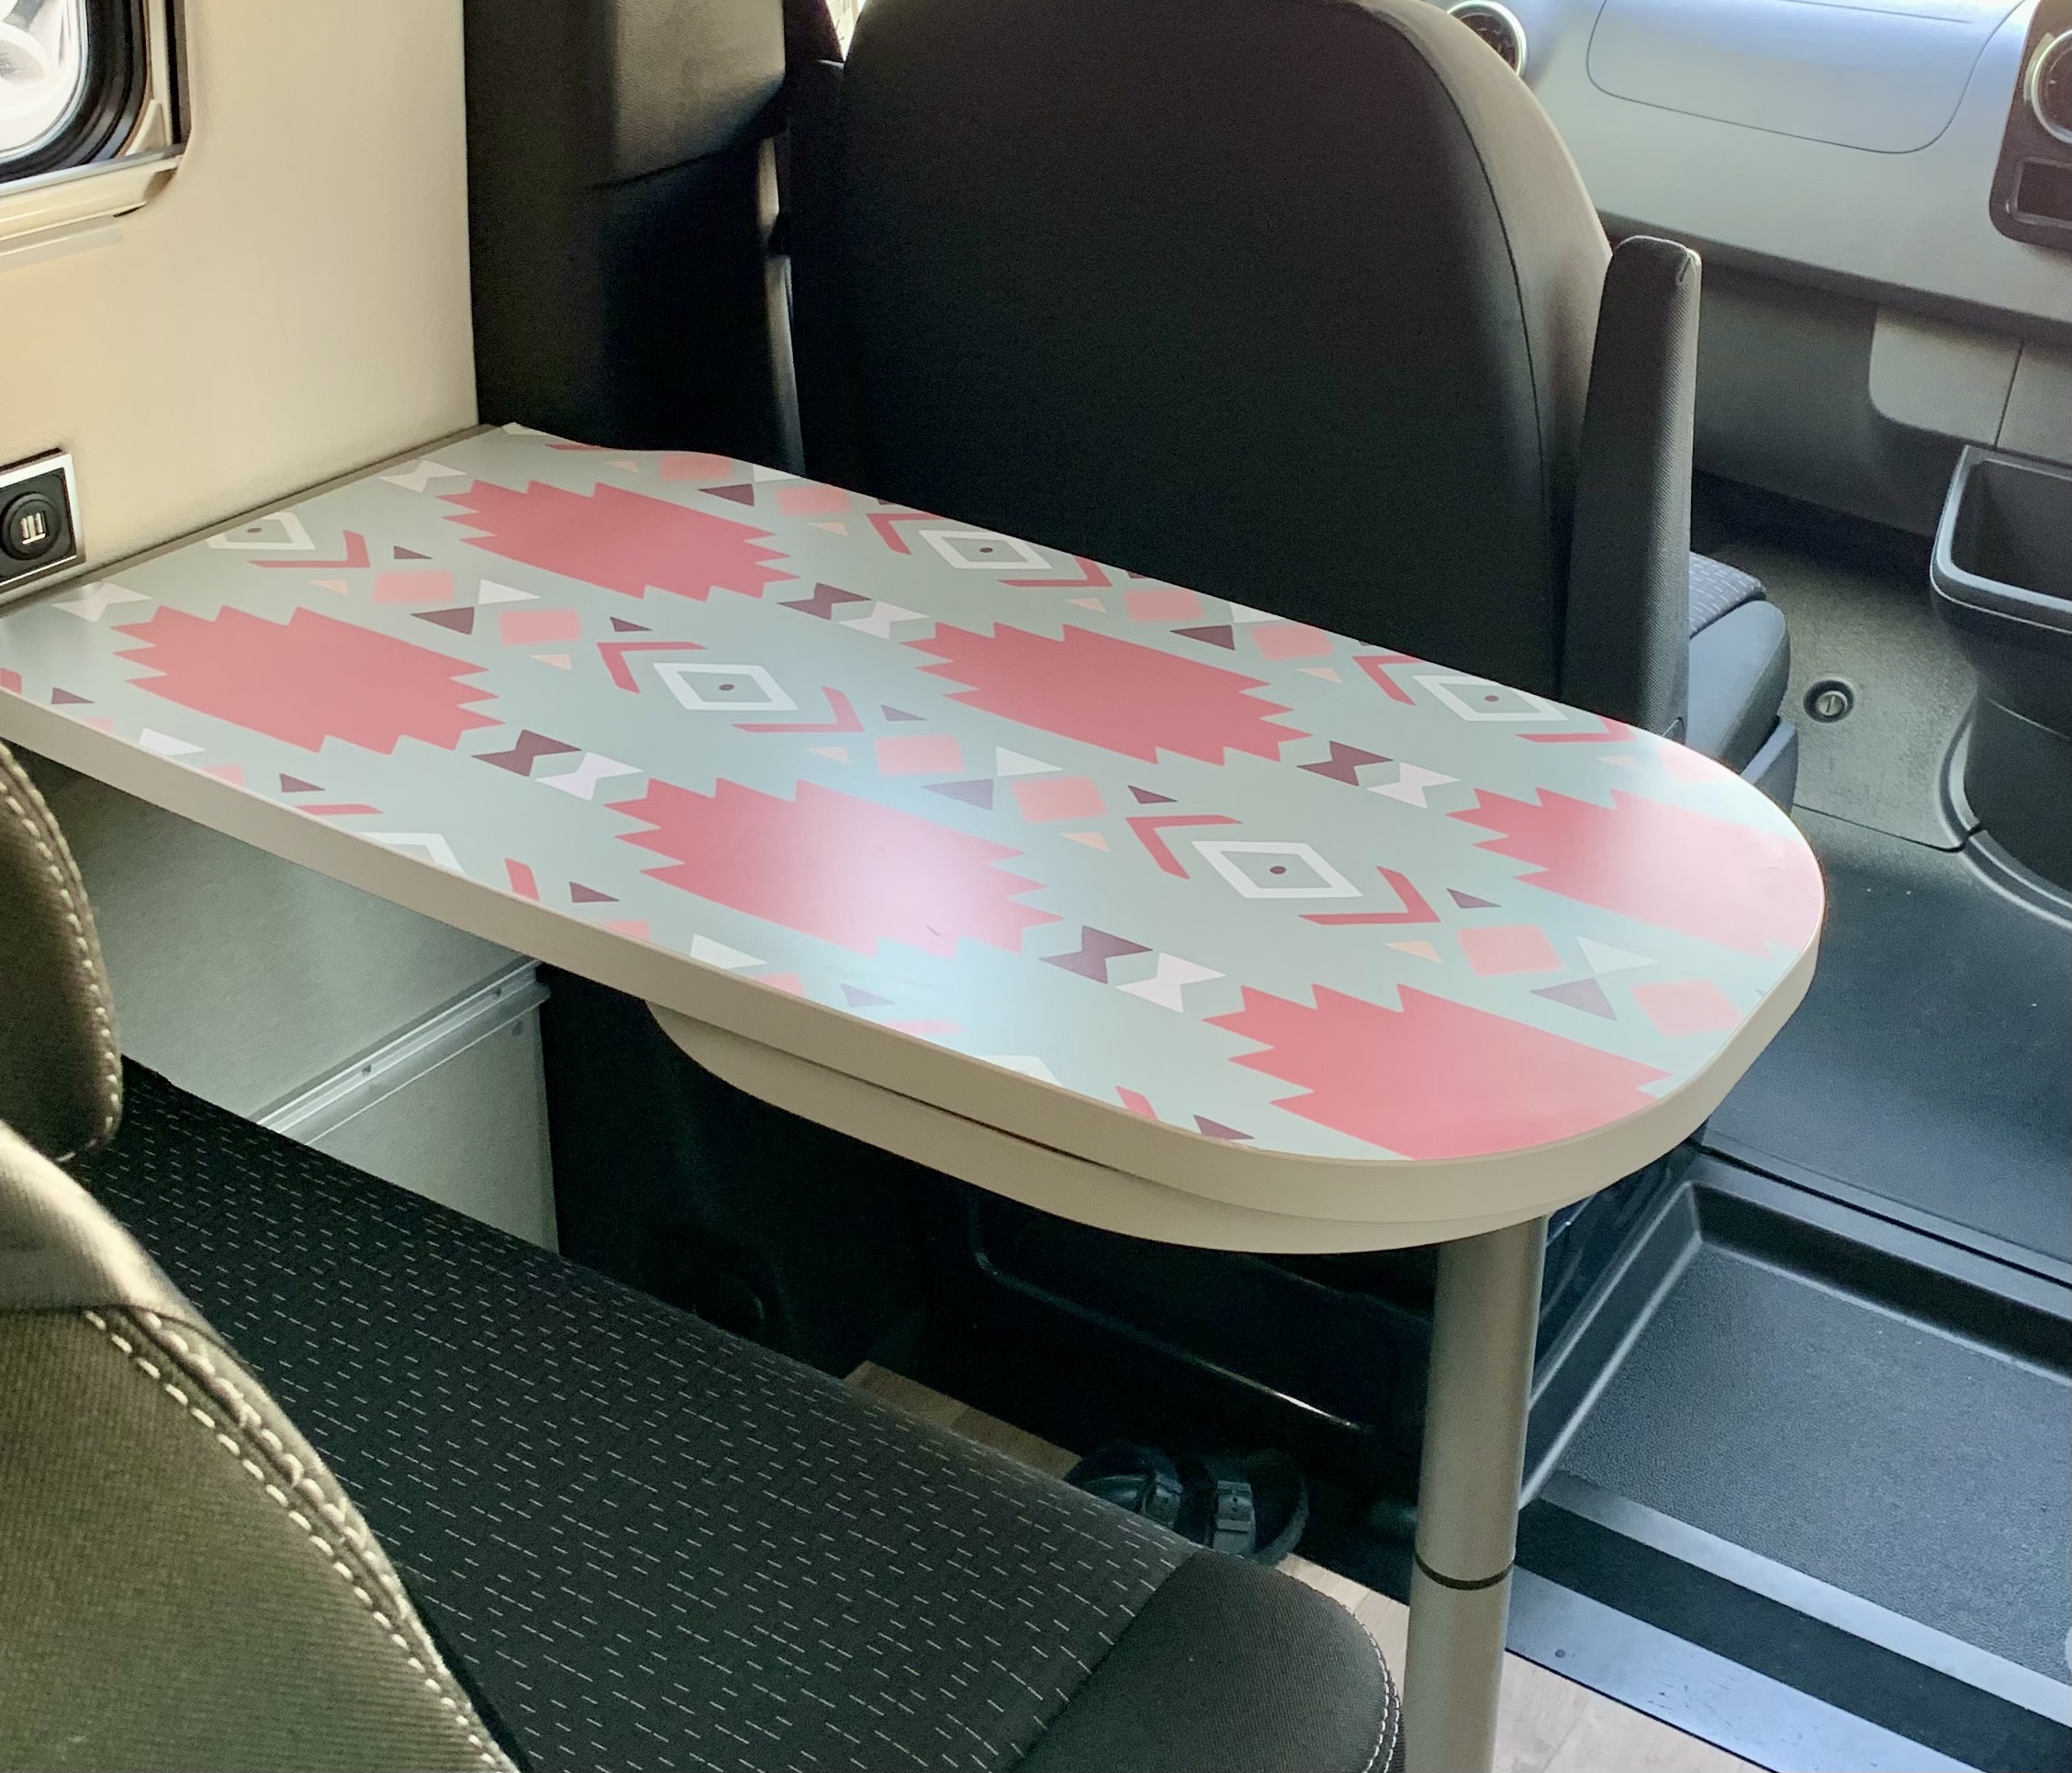
Add some personality to your Camper van by adding vinyl to surfaces and making it feel more like a home on wheels. I do not recommend going over the top and applying it to all surfaces. However, by adding vinyl to some key areas, you can not only protect the van from damage but also add some colour and personality.
Step 1 – Choose what to Vinyl
The most important step. In our VW California we only applied Vinyl to the indoor and outdoor table and the glass top above the hobs. This was to prevent damage or stains to the table in case we wanted to sell in the future. When we did come to sell, we simply removed it from the surfaces and it looked good as new. In our Hymer Free s600, we took a similar approach. Our priority was the table to keep it safe from the kids but we were also not fond of the wood effect cupboards so we decided to give them a more modern look.


Step 2 – Choose your Vinyl
A step that took us far too long. There is simply too much choice. Take your time to pick a design that you like but do not stress too much, you can remove it in the future if you fancy a change or do not like it. We used Quote My Wall (not an affiliate link) to order our Vinyl.
Step 3 – Apply
We chose the time to apply wisely, when the children were asleep so we could work together to get it done. It did not take us long to do the table, approx. 30 minutes and another couple of hours for the cupboards which were a bit trickier. The key is to take it slowly, sticking a small section at a time and then using a squeegee (or credit card) to get all the air pockets out before moving on. Once it is stuck, go over it again to make sure there are no air pockets before using a Stanley knife blade (the sharper the blade the easier it will be) to go around the edge slowly at an angle. I removed the handles from the cupboard doors to make things easier but left the doors on the cupboard when applying.
